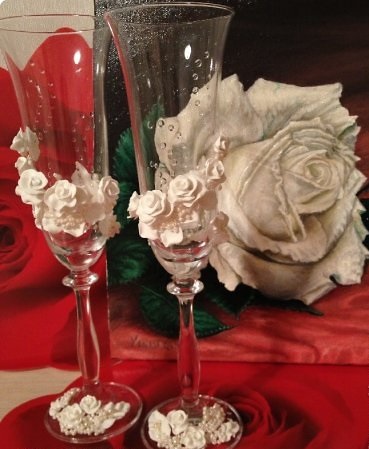
Glasses for the wedding with polymer clay roses
|
|

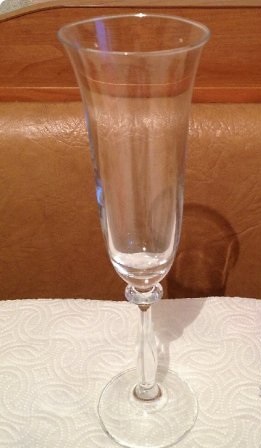
1) These is the two glasses bought in the store
|

2) This is polymer clay balls, for a small rose you need 5-6 balls and for a bigger rose you need 7-8.
|
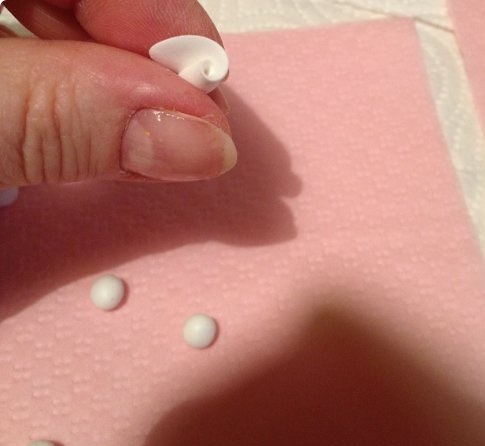
3) Roll the ball with your fingers and turned the first tab (the middle of a rose)
|
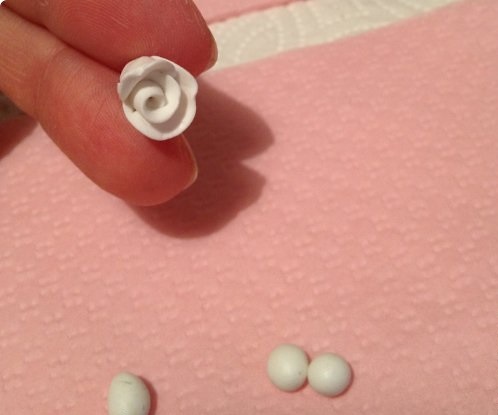
4) Attach the petals gradually.
|
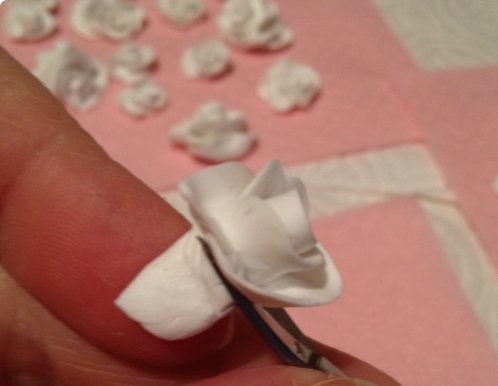
5) attach all the petals and cut the rose in front of the base
|

6) The leaves can be immediately corrected, once attached, and can be done with a toothpicks.
|
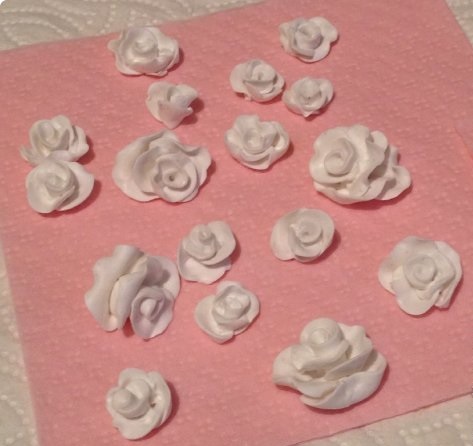
7) It took me 18 pieces.
|
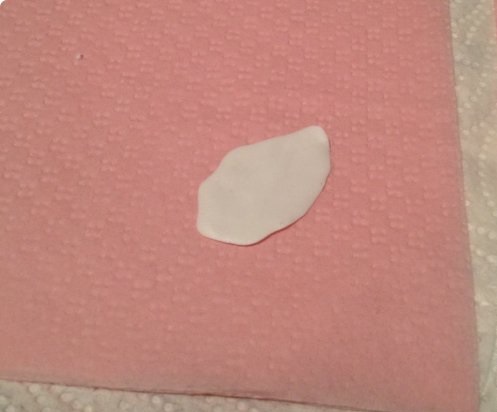
8) Form a few leaves. Roll out the polymer clay in sheet form
|

9) Bending and stretching a little the edge, forming a leaf.
|
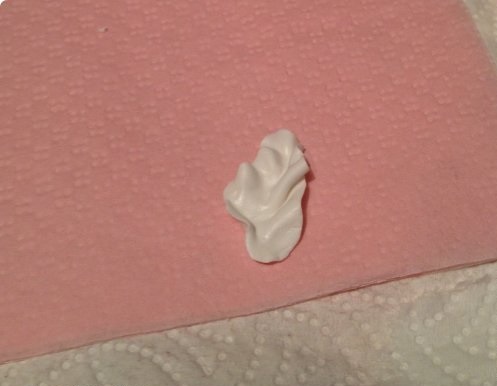
10) The other side
|
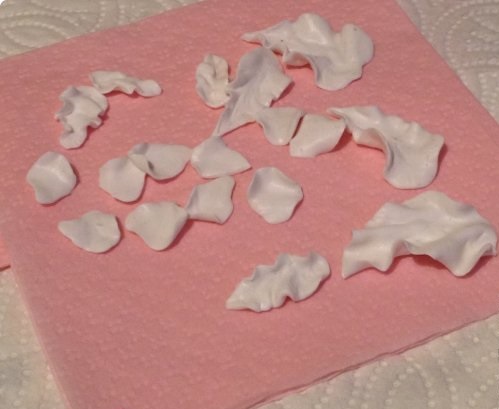
11) 8 leafs and some individual petals (pictured with leaves), I will tell you where they are useful to me.
|

12) Bake the polymer clay roses.
|

13) And proceeded to the fun - decorating.
Roses and large leaves, for greater strength, glued with the glue "Moment" |
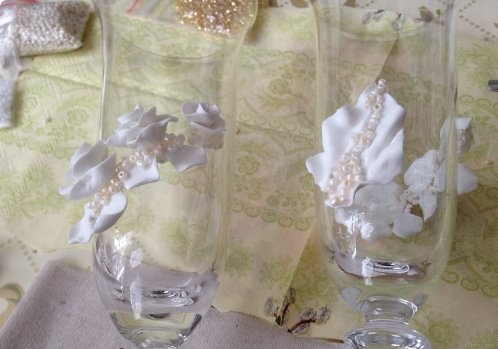
14) In this photo you can see the front and back sides of the glass
|
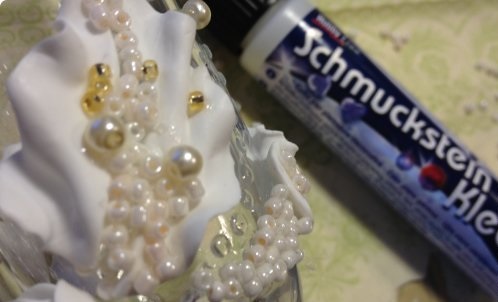
15) Beads and pearls stuck to the big leaf.
|
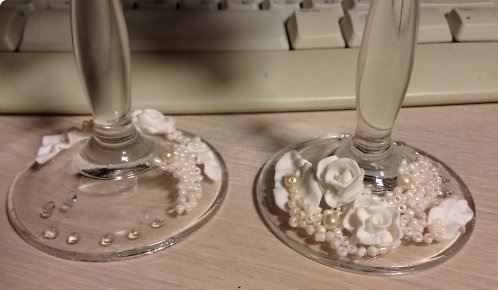
16) Decorate the bottom of the glasses
|

17) This photo shows the front and back sides of glasses.
Here you can see where the individual petals glued - under the roses. 
18) And here are my glasses ready
Tried to tell as detailed as possible. If you have any questions - please leave a comment below. |
|
